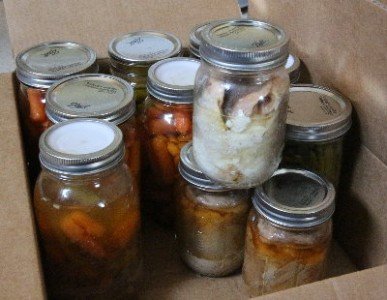
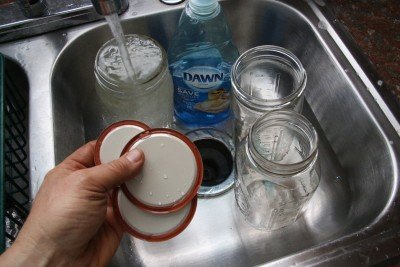
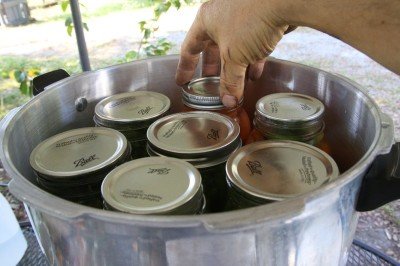
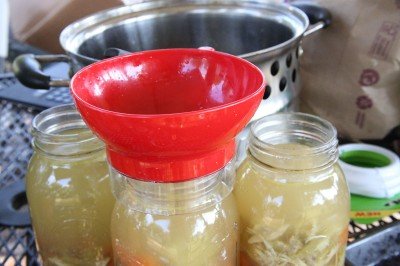
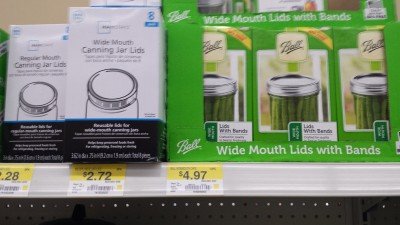
These are canning jars, available at most Walmarts. The name brand is Ball, but Walmart has their own lower cost options, probably made in the same factory in China. For veggies you’ll use the quart size, and they come in both a small and wide mouth. The jars and rings can be re-used, but the lids are one use only. Cases of lids can be found on Ebay and Amazon, and see below for a reusable lid that I have only tested once.
Presto Pressure Canners
https://www.gopresto.com/products/Canners (products link to Amazon)
Presto Canners: On Amazon
All American Canner: On Amazon
No matter how much food you store, it will never be enough. At some point you will have to either grow your own food, or provide a valuable product or service that you can swap for food, or for the “coin of the realm” (whatever money turns out to still work after the collapse), that you can swap for food. But in most parts of the world, food doesn’t grow year round regardless. Grains will store with little outside intervention. Beans will certainly store in most environments, and potatoes, winter squashes, and some fruits will last the winter if you provide for them a root cellar of some sort that will keep them fresh. Other than that, if you want to eat vegetables and fruits year round, you will have to learn how to can your food. It isn’t hard, but you have to do it now, because as you’ll see, canning is fraught with pitfalls if you don’t do it right.
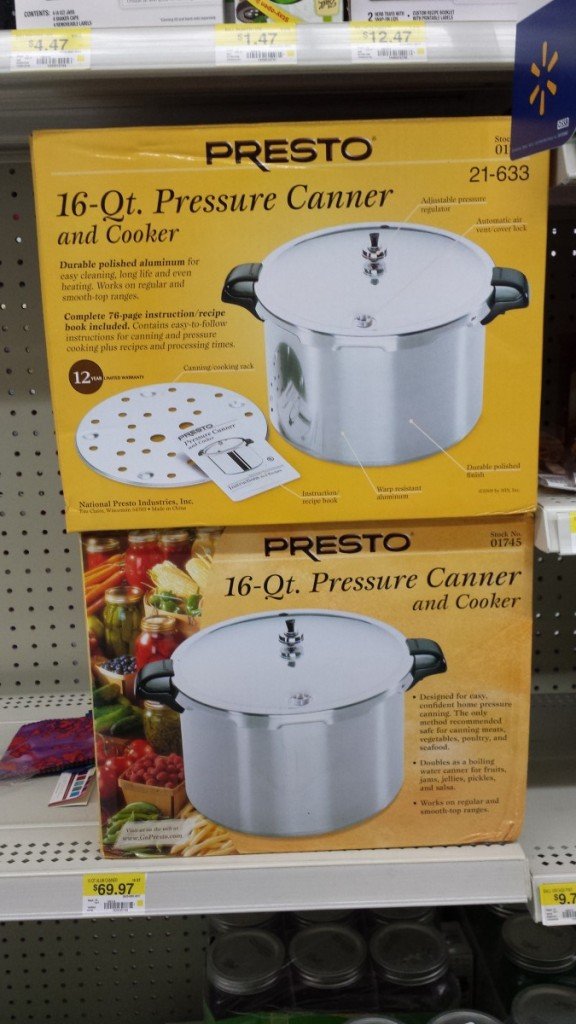
The Presto canner in this article is available at most rurul Walmarts. Even if you think you might spend the extra $200+ on a metal to metal fit All American canner, it never hurts to have two, because you will have the fire going waiting for the first canner to cool and you may as well run another batch.
I was actually really depressed about canning for survival until recently. Canning takes a ton of heat. It requires a hard boil under pressure for upwards of two hours for large cans of meat, and that takes a lot of propane, which until recently was my only means of cooking. Then I discovered a useful tool called the “Rocket Stove,” which I reviewed for a prior installment of this series. That stove is the StoveTec brand, but I have since found other brands, and I even have a DIY rocket stove test coming for a future installment. Rocket stoves transformed my fuel paradigm. I can now cook for over an hour with a small amount of fuel from sticks that I can pick up off the ground or break off from dead trees.
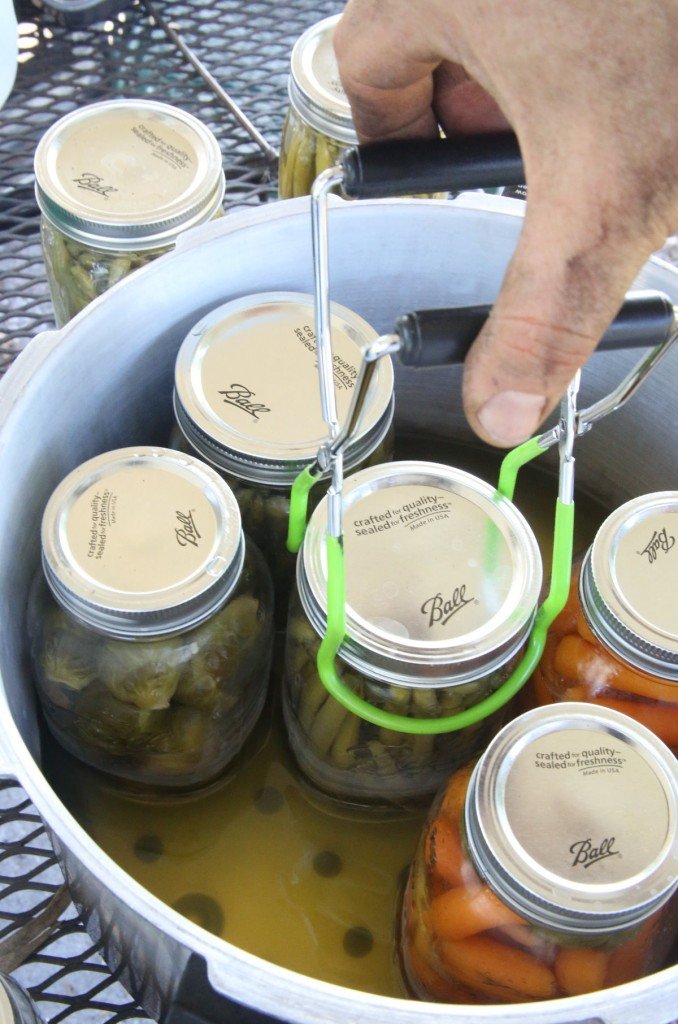
The actual canning process takes on several forms depending on your container choice. Glass jars are where you should start. They sell them at most Walmarts, and the Presto Canner you see here in the pictures I bought at Walmart as well. It is $69.99, cheap enough, and as you can see from my pictures, it works just fine. This Presto has no pressure dial gauge, because you really don’t need one, though they make a higher end model of this 16 quart size with a gauge, and a 21 quart as well, both for well under $100. If you are serious about canning for survival, you may want to consider an All America Canner. They start at about $200, and the big difference is that the All Americans have a metal to metal seal instead of a silicone gasket seal. I don’t think that the Presto would fail you over several seasons, but I do also have the All American 41 quart.
The premise of canning, if you haven’t ever looked into it, is actually fairly simple. Water boils in open air at 212 degrees at sea level, and a little less than that as you get higher in elevation. For example, at one mile high, water boils at 202 degrees. When you cook food, even though your oven may say 350 degrees, as long as you leave that food in the oven and there is still water in the food, it will never get over the boiling temperature for your elevation.
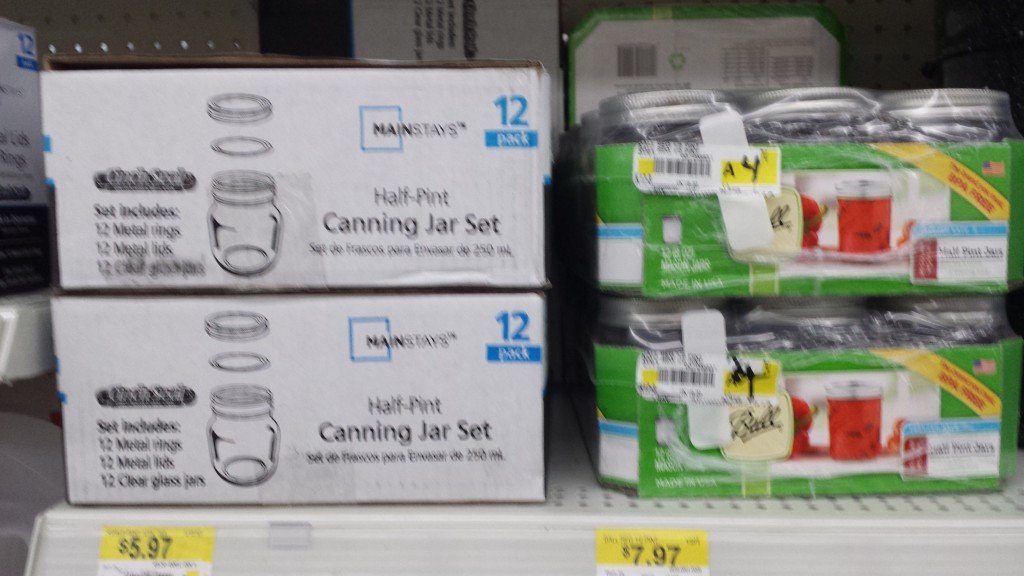
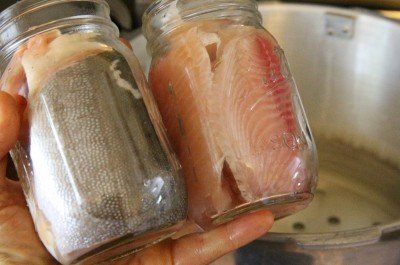
Jars come in several sizes with two sizes of lids. Walmart has their own brand, and they seem to be just as good as the Ball brand. Your canning directions will tell you how big you can go for different types of food. For fish and meat you are better to use pint and half pint, unless you have a big family or group that will eat at the same time.
You may be asking, why do I care? Well you should care because I assume you wouldn’t want to get Botulism.” It is a nasty disease caused by the bacteria clostridium botulinum, and that bacteria can live in boiling water. Clostridium botulinum spores are actually very common in both soil and water, and it produces the botulinum toxin which actually causes Botulism. To kill the toxin, you only need to heat food to about to 185 degrees for 5 minutes (which is why it is smart to cook any canned food, especially home canned), but to kill the bacteria that makes the toxin, you need to get the food up to about 240 degrees, and that can only be done under pressure. A canner is a pressure cooker designed to reach specific pressures and specific temperatures needed to kill the spores. You must read and follow the canner directions exactly. Cooking times do not vary. If it says 90 minutes, it’s 90 minutes.
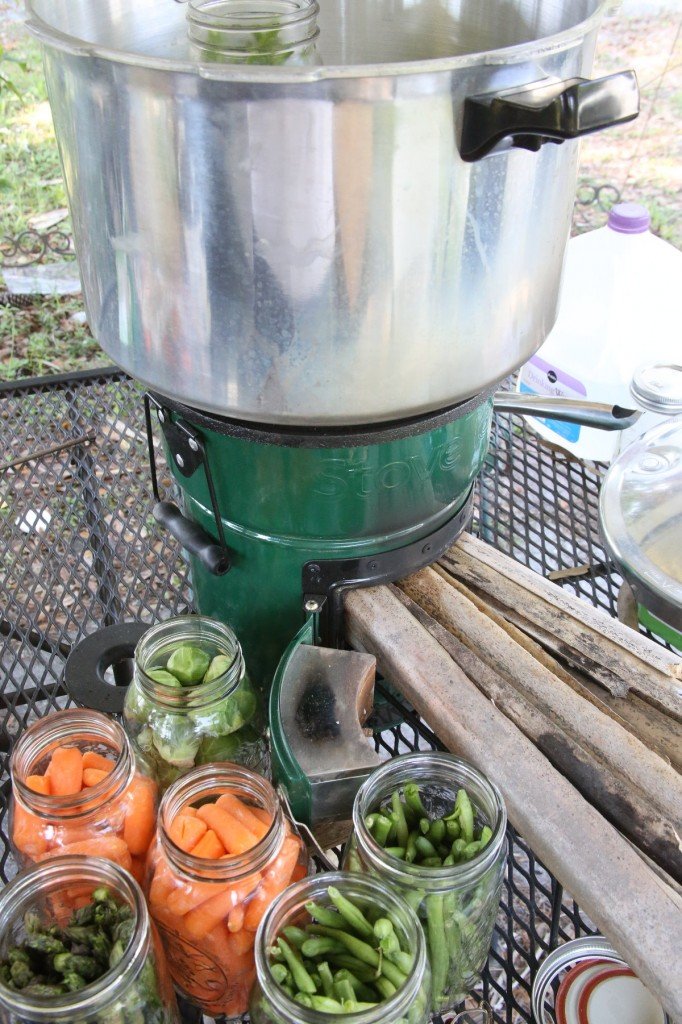
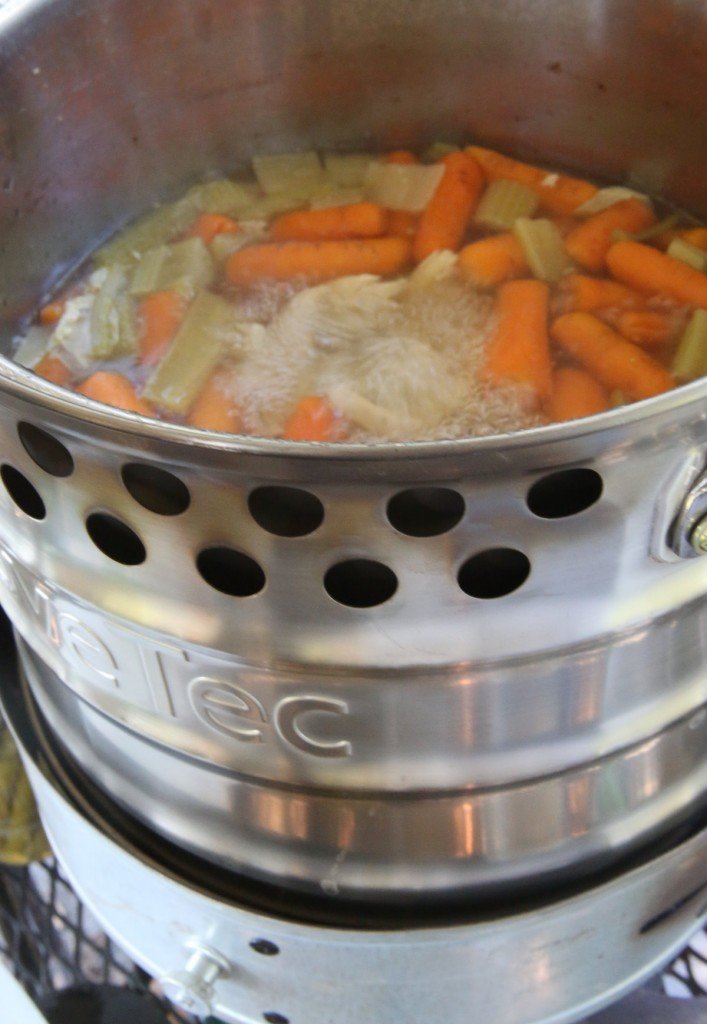
My first shot at canning with my StoveTec Rocket Stove didn’t work. As you can see, I didn’t attempt to use the heat ring because it didn’t fit around the pot, and I stuffed the fuel door with palm fronds, which for normal cooking works great, because you don’t want ripfire heat.
Canning information should come with your canner, and it is also available online from several official sources. The Alaska Extension Service has a bunch of great videos on canning game and fish, and Presto has free downloads of all of their manuals on the website. Don’t mess around with internet discussion boards when you first start out. There is a lot of information out there on canning without pressure, but this is ill advised for anything besides tomatoes and high acid fruits. Do people can other veggies and meat without pressure? Yes. I even found a huge wood fired Amish canner that isn’t sealed for pressure, but the online chat rep why they didn’t make it a pressure canner she had no idea, and didn’t reply to my questions about canning low acid foods without pressure. When you can get a really nice pressure canner for under $100, why mess around?
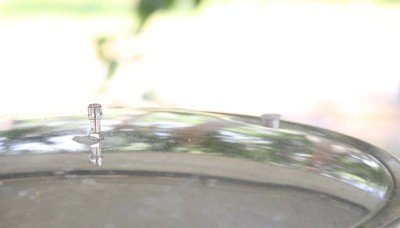
My only other real piece of advice is don’t throw out your manual after you do it the first time and you feel like you know what you are doing. I have been canning for years and still forgot and pulled the pressure plug off the top of the canner before it had cooled. I just wanted to get a picture of the steam for you guys, but I had forgotten that you can’t do that because the jars are pressurized inside the canner. If you depressurize the canner quickly, he pressure inside the jars is much higher than the pressure in the canner, so…you guessed it (maybe), the jars spit most of their liquid into the canner. You also will need your printed direction after the internet goes dark so that you can look up the pressures for various types of foods and jar sizes. It is a very important little book to hold onto.
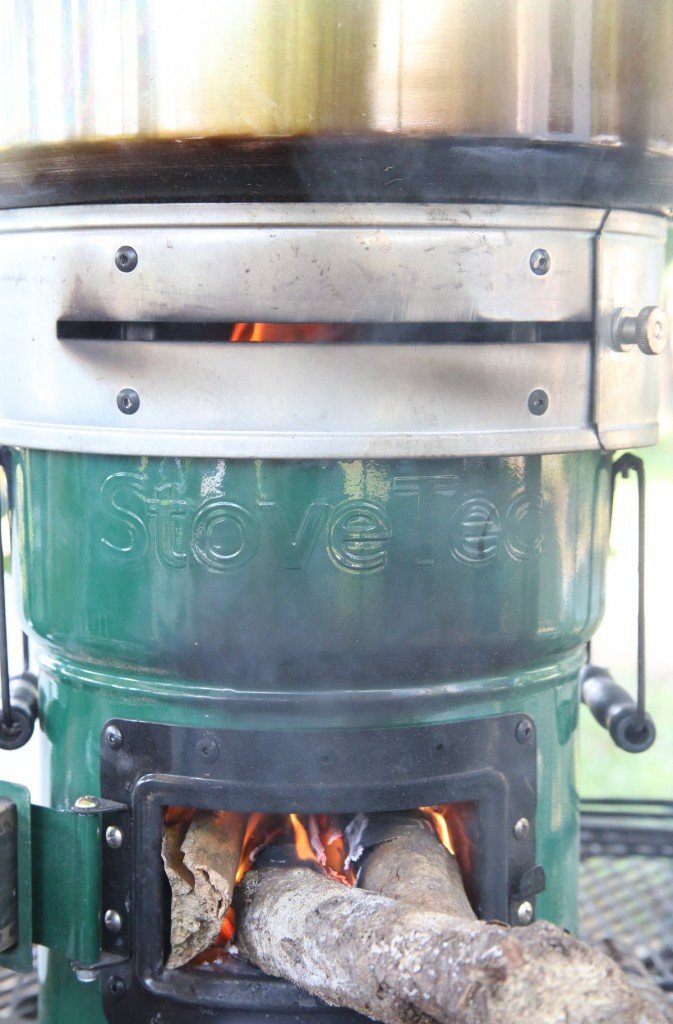
In order to maintain the hard boil required by a canner, you need a raging fire with plenty of air. In a Rocket Stove that is still only a little fuel, and the StoveTec heat ring helps a lot with this stove.
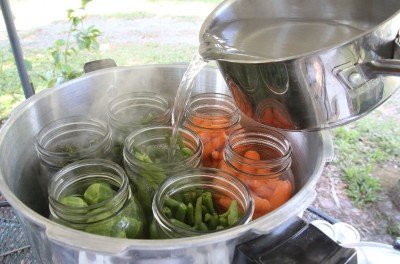
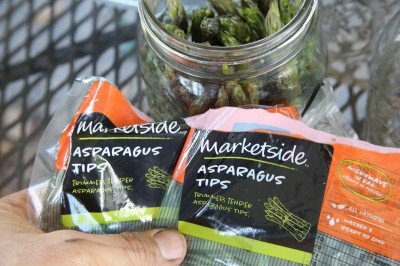
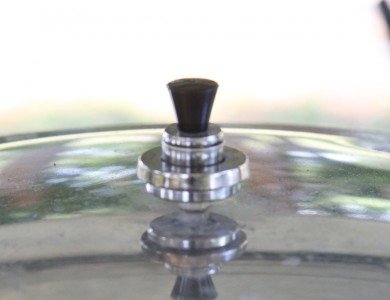
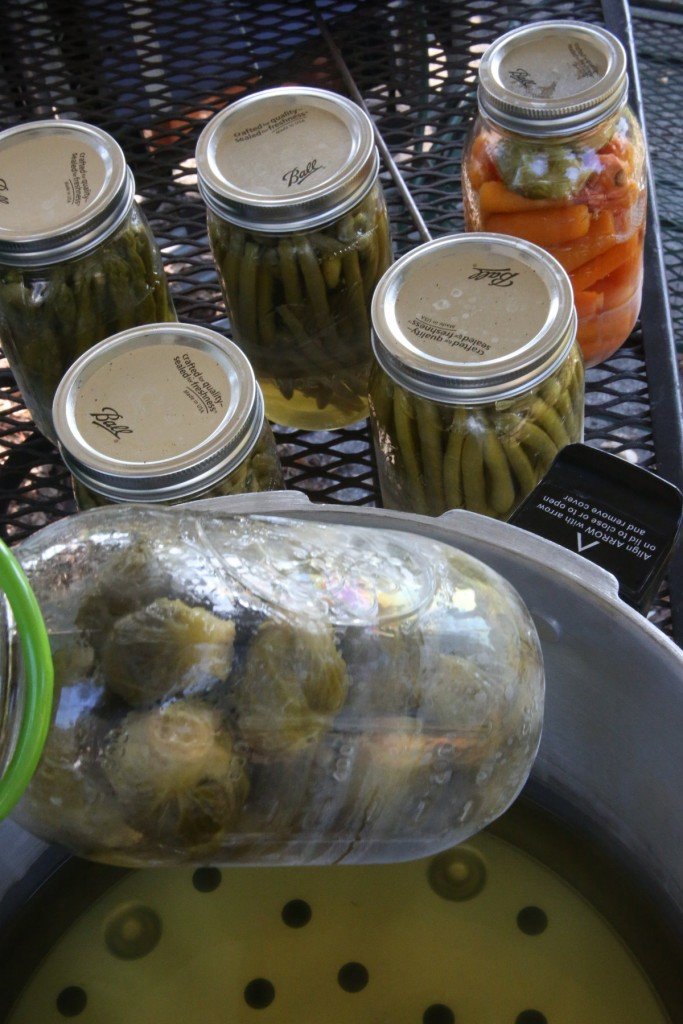
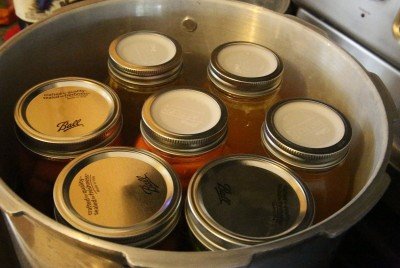
As you can see from my pictures, I was successful in using my StoveTec Rocket Stove to can veggies and fish. The one major lesson I took away was that for canning, you need a lot of oxygen and a slow burning fuel (ie. hardwood). In my prior article I used palm fronds, packed tightly into the fuel opening in the stove, but that didn’t get hot enough to get the canner to pressure and maintain it. Canning didn’t take all that much more fuel, but I did have to make sure that the fuel was burning hot and not smouldering. This specific Presto canner is famous for it’s jingling pressure system. With a really hard boil on the stovetop, the pressure weight rocks back and forth with a dinkadinkadinkadinka sound. I was not able to get that level of boil with the StoveTec, but I could hear a constant hissing coming from under the weight, which means that the canner was at pressure for the requisite time.
The Rocket Stove does make a mess of your canner, but though there were some heat swirls in the aluminum, it didn’t come close to warping the canner, which you can do on an outdoor propane burner made for a turkey frier. There was a buildup of creosote on the bottom, but it washed off. It took me some experimentation to get the heat focused enough to maintain the boil. The StoveTec comes with a heat ring that didn’t fit around the 16 quart canner, but I figured out that I could put the heat ring around the stove and set the canner on top of the heat ring and it works almost as good as if it were around the pot. Once I got this wrinkle figured out, that was it. The boil stayed hard enough to get that hiss from under the weight, and then I just stayed and attended the fuel.
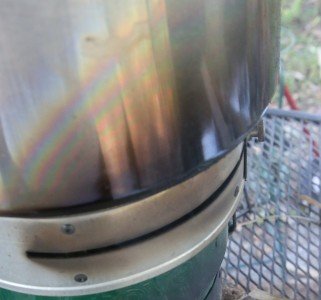
This creosote and discoloration came from before I used the heat ring, so though your canner will get dirty, if you use good hardwood for your fire and give it plenty of air, I don’t think you’ll see as much black stuff.
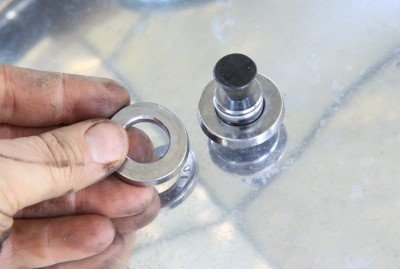
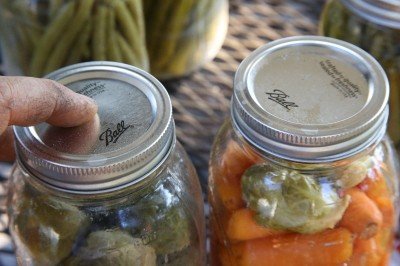
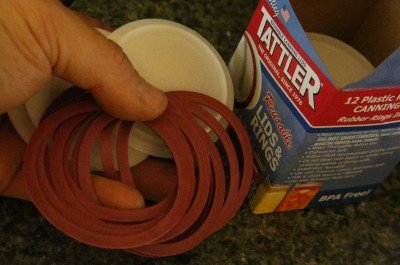
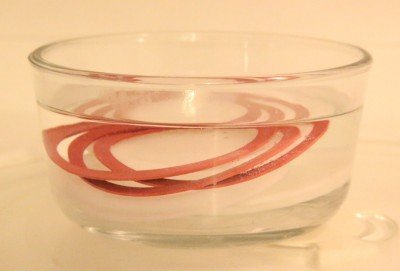
Note that toward the end of the pictures I also tested Tattler reusable lids. They only come in the smaller opening size (the “regular” not the wide mouth), and so far I have only tested them for one use. Long term, I think that the Tattler lids are a good idea because though the jars and rings can be used indefinitely, regular canning lids can only be used once. I bought a couple cases of lids for my survival kit, but eventually they will run out. I plan to experiment with wax in the future as another long term solution, but that would be considered fringe canning and I don’t suggest it at this point because I have only read a few threads, and they don’t look promising. The problem with the Tattler lids is that the key to reusing them is getting them off without breaking the gasket. The vacuum sucks the plastic of the lids into a concave shape, and even with a delicate hand and a butter knife it is going to be tough to always get those lids off with no damage to the gasket.
Don’t underestimate the amount of food that you can grow in a large garden. And don’t believe the naysayers that tell you that you need two acres of land per person. That is complete nonsense. You aren’t going to live like royalty on less, but you may just survive, and you need to be able to store food for the winters. We are going to look at canning in steel cans in the figure here, and even how to make your own retort pouches with your canner, but if you want to get started now, get canning with glass bottles, and buy a ton of them while you still can. This chapter of the human experiment may be coming to an imminent close. I hope it is a happy ending, but most likely it will be the opposite, and all you can do to prepare for it is what you can do. But for Heaven’s sake do.


Wow, this is excellent. A friend was asking my why she’s need a rocket stove for canning. This explains it perfectly. Every prepper should have a rocket stove. Thank You Very Much!
Great article, yes I was depressed too, because I was wondering how I was going to can anything after the shtf and then I found this how wonderful!!!! I have been canning for years and I have beefed up my canning this year. The only bad thing, I could not pull up any of the pictures to go along with your article. I would never even attempt to make a rocket stove myself because, I have tried to build other survival things myself and it was a waste of money and energy. so I will just buy one! Thanks again for your article!!!!
One of the important canning tools to get is a foley food mill. We use one to make apple sauce, or other fruit purees. Hand cranked and pretty much bullet proof, just remember to wash it when you are done.
Purees like apple sauce use of tag-end fruit, jams, and if you use a steamer to extract fruit juice you can puree the remaining pulp and get it free of the harder peels.
Oh, and a pressure canner can be used as an autoclave. If you ever find a need for such a thing.
Great tutorial, just watch out for any of that Chinese raised fish, who knows what type of chemicals its got going on in there. FYI.
I agree but sadly even many rivers and tributaries in States like Ca are stocked with GMO fish fed with GMO feed. Even if you think you’re catching natural fish you now have to know where they came from upstream.
Great article, I am going to try my hand at canning when my palate gardens yield this season.