By Kat Ainsworth
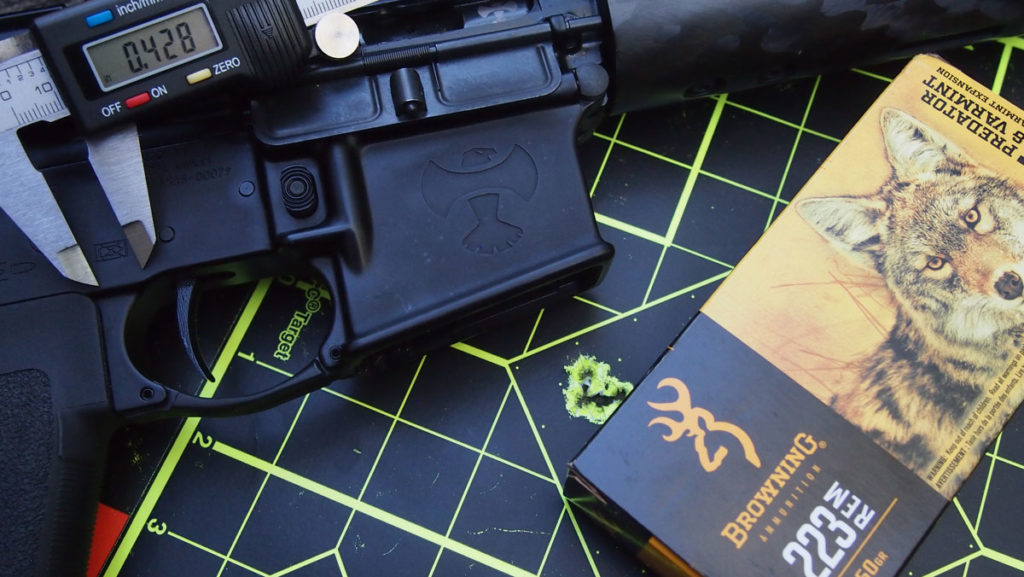
With Browning .223 Rem 50 grain BXV Varmint Expansion the Axelson Tactical Black Pearl nailed a best-shot group of 0.428 inches.
Accuracy testing is a part of life for shooters and gun enthusiasts and an oft-debated practice on social media firearms forums. And although the most-asked question revolves around the number of shots fired for a group, there is far more to testing firearms than round count. Is it nice knowing whether or not your rifle – and you – are truly capable of sub-MOA groups? Absolutely. If you want to know how accuracy testing really works, read on.
Stability
A stable shooting foundation is the heart of properly executed accuracy testing. It’s easy to get wrapped up in shots fired and simply hunker down at the bench without stopping to consider your foundation but you’re doing yourself a disservice by failing to ensure stability. There’s more to holding your gun steady than tossing your backpack under the forend or grabbing your shooting sticks.
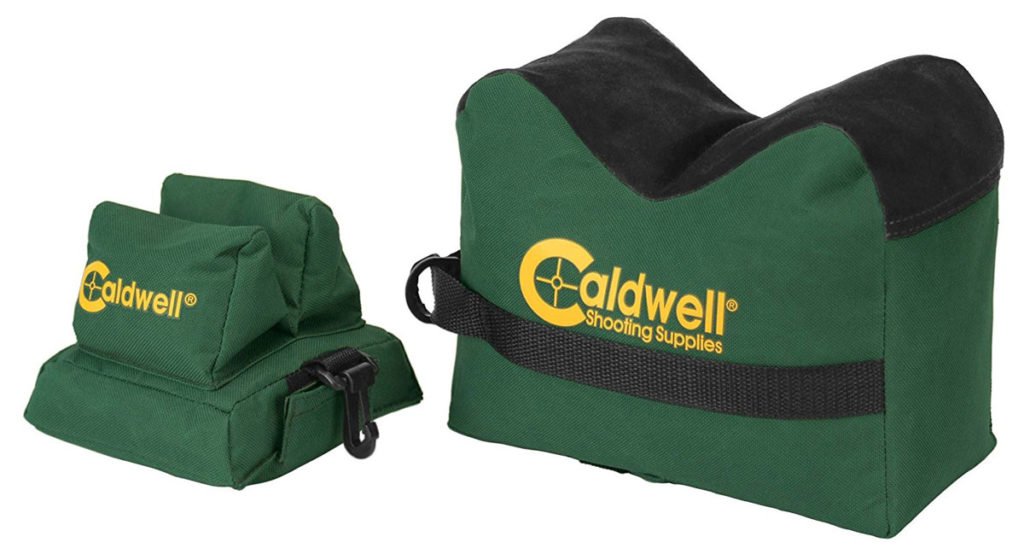
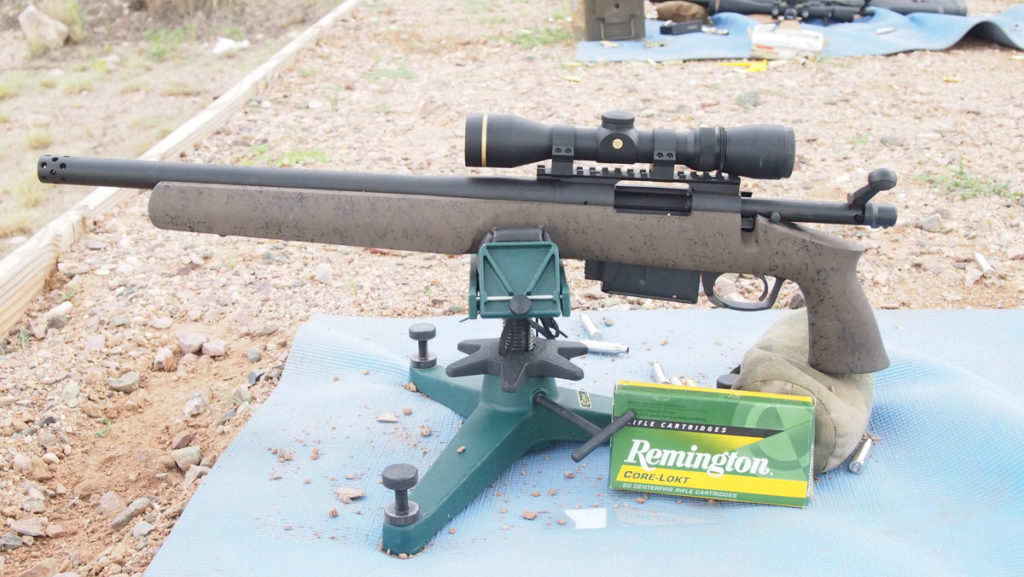
Caldwell Deadshot front and rear shooting rest bags are a good, budget-friendly option for accuracy testing rifles.
For rifles, take the shape of the forend into consideration. Choose a substantial bench rest bag that provides support not only under the gun’s forend but up around the sides. This prevents wobble and gives more complete support than you can get with a pack. Support the stock, too. Failure to use a second bag under the stock opens you to errors and discrepancies in groups because you’ll be relying on muscular tension to hold the rifle steady. Rear bags with ears hold the stock steadier than those without and wedge-shaped bags allow fine adjustments in elevation to be made by squeezing the bag with your support hand. Quality bipods can be used in place of the forward sandbag as long as they’re utilized correctly. How to select and load a bipod will be covered in a future article. Creating a stable platform is about removing as many elements of human error as possible.
Handguns require different support than rifles. Adjustable shooting rests such as the Caldwell Pistolero or the HySkore Pivoting Pistol Shooting Rest are good options for the average shooter. The former is lighter-weight and sometimes requires weight for stability while the latter has anchor points so it can be firmly mounted to the bench. Take care to monitor where the muzzle of your gun is resting so you don’t accidentally shoot the edge of the rest.
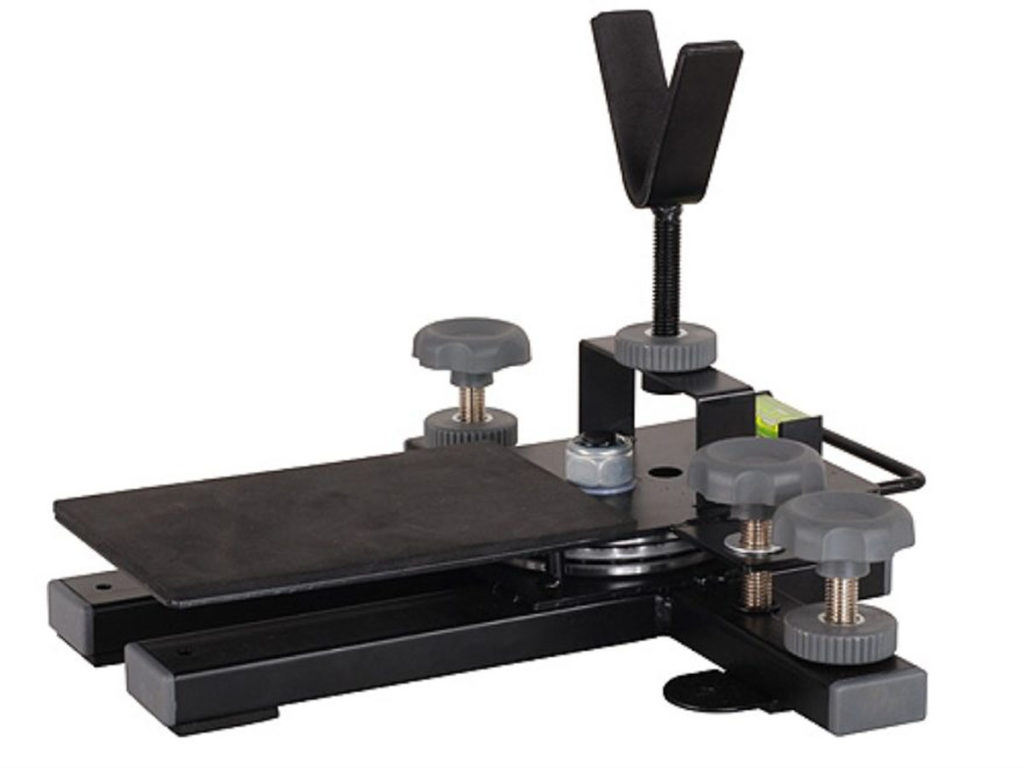
The HySkore Pivoting Pistol Shooting Rest can be anchored to the bench for a more stable shooting platform.
For exact mechanical accuracy, human error must be eliminated entirely by using a machine rest such as the Ransom Rest.
Eliminating Movement
Reduce errors and minimize movement by considering other issues. Given the length and breadth of this information, we’ll just touch on it briefly here.
Pre-ignition vibration (PIV): PIV refers to the vibrations created by the movement of the trigger, hammer, and firing pin, the specific mechanics of which vary by platform. Eliminate PIV with proper use of both front and rear sandbags and by getting close to your rifle while keeping your body relaxed.
Muscular Tension: Semi-contracting your muscles – typically for extended lengths of time – to hold the gun in place. This tension creates movements both minor and major which have a negative effect on precision. The extended use of muscular tension to support your gun can also cause back pain.
Breath Control: Taking a breath as you pull the trigger creates excessive movement and throws shot off. Learn to fire during the respiratory pause when your exhale ends and chest muscles are relaxed.
Trigger Control: Place the middle of your fingertip’s pad on the trigger, not the tip or joint. Pull – which is really a press – with a smooth motion using steady pressure directly rearward. Do not immediately let go. Maintain pressure for a moment and stay on target; jarring the gun instantly after pulling the trigger significantly affects shots. This is called follow through and is a vital component of marksmanship.
Reticle Hop: This is when the reticle jumps off target when you pull the trigger. It’s easy to check for hop by increasing magnification and dry-firing once your rifle is set up. If you lose your point of aim (POA) while dry-firing, make the necessary stability adjustments and try again. If you don’t get rid of reticle hop your groups will broaden anywhere from .1 to 1.0 MOA.
Shots Fired
Now to the source of many heated discussions: how many shots fired and from what distance?
The standard for accuracy testing is five shots per group. To deduce average group size, five groups are fired. This means a total of 25 shots broken into five groups. For example, while testing the Axelson Tactical Black Pearl in .223 Wylde using Hornady 75 grain BTHP I had the following five group measurements using Lyman Digital Calipers: 0.691 inches, 0.778 inches, 0.820 inches, 1.01 inches, and 0.997 inches. Adding those measurements together then dividing them by five gave me an average group size of 0.859 inches with a best-shot group of 0.691 inches.
Measure groups with calipers such as Lyman Electronic Digital Calipers. Make sure they’re zeroed then use the lower jaws – which are designed specifically for outside measurements – to measure the distance from the outer edges of the furthest-apart bullet holes. Next, subtract the diameter of the bullet used from that measurement. Find the shot-group measurement by rounding that number to 1/1000 of an inch.
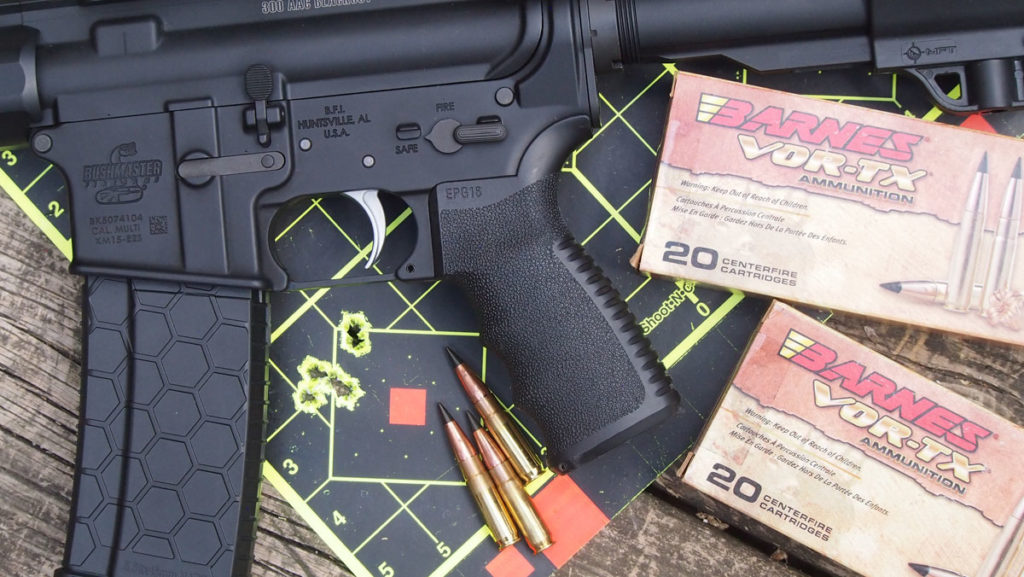
Include shots that fall outside your preferred group in measurements. A thrown shot cannot be excluded simply because you dislike its existence.
Different loads result in group variations as well which is why testing requires the use of a minimum of three loads, preferably not the same brand or bullet. I prefer to use five. The aforementioned rifle loaded with Browning 50 grain BXV Varmint Expansion delivered an average group size of 0.883 inches and a best group of 0.428 inches. Aguila 55 grain FMJ resulted in an average group size of 1.38 inches and a best group of 1.18 inches. Different ammunition performs at varying levels.
Distance from targets during testing varies by platform. For rifles, test at 100 yards. With handguns, distance varies by barrel length. Handguns with a barrel length of 3.5 inches and above should be tested at 25 yards while those with barrels under 3.5 inches should be tested at 15 yards. Derringers can be test fired at seven yards.
Variables
Stability should be your priority but there are other variables as well. Heat is one; barrels heat up with use which affects shot placement. Some, such as pencil barrels, heat faster than others. Give your gun a chance to cool off rather than expecting to go through accuracy testing without pausing. Guns also perform differently with clean versus dirty barrels. Don’t try to test with a pristine barrel. A little fouling isn’t a bad thing.
Breaking in barrels is a topic for another time.
Targets
There are quite a few options for targets. Choose what works best with your eyes. Birchwood Casey’s Shoot-N-C Sight-in Target has a grid and five focal points – one central, larger diamond and one smaller diamond at each corner for a total of four. When bullets strike the target a splash of contrasting color to the target’s color appears, making it much easier to visualize placement from a distance. Birchwood Casey also makes a Shoot-N-C Bull’s-Eye Target if you prefer a classic 12-inch bull’s eye. Both targets come with pasters to cover holes. There are also basic paper options.
Bottom Line
Knowing what your rifle is capable of has many applications whether you’re a hunter, hobbyist, or competitor. Quantifiable data gives you a gold mine of information. Being familiar with your gun through accuracy testing is just the beginning. Take the time to learn drift and drop so you know what to expect at different ranges, figure out which loads perform best, and work to improve your marksmanship both on and off the bench. Above all, make every pull of the trigger count.
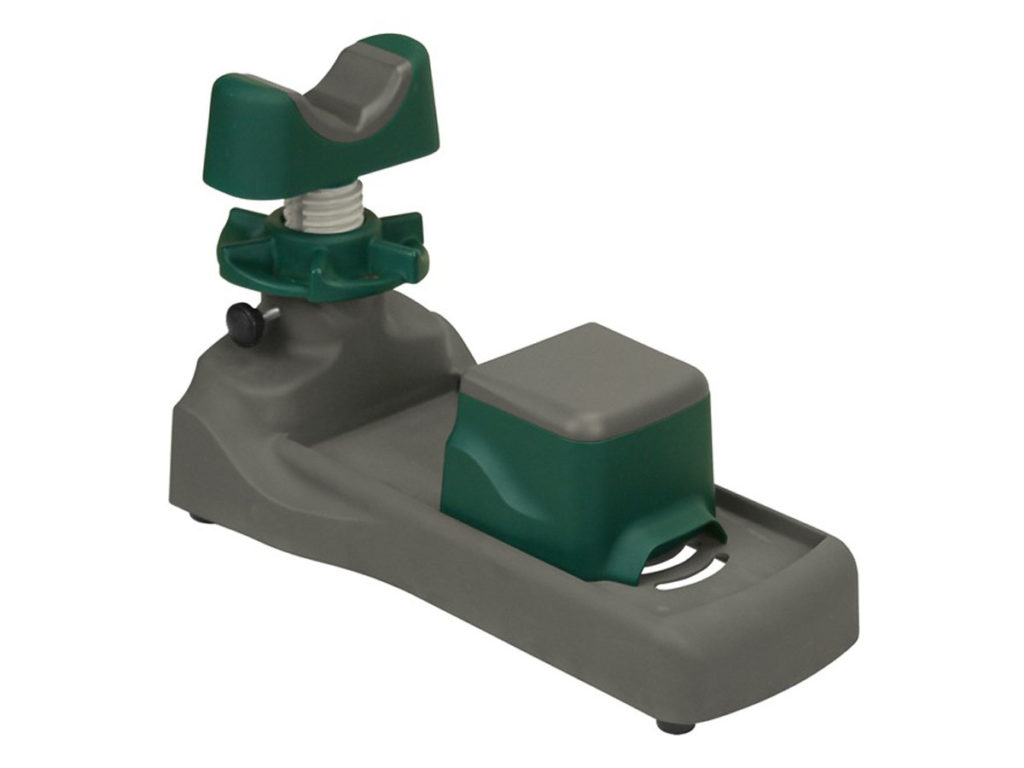
The Caldwell Pistolero has a rest for your handgun’s barrel and a raised platform to stabilize your hands while gripping the gun.
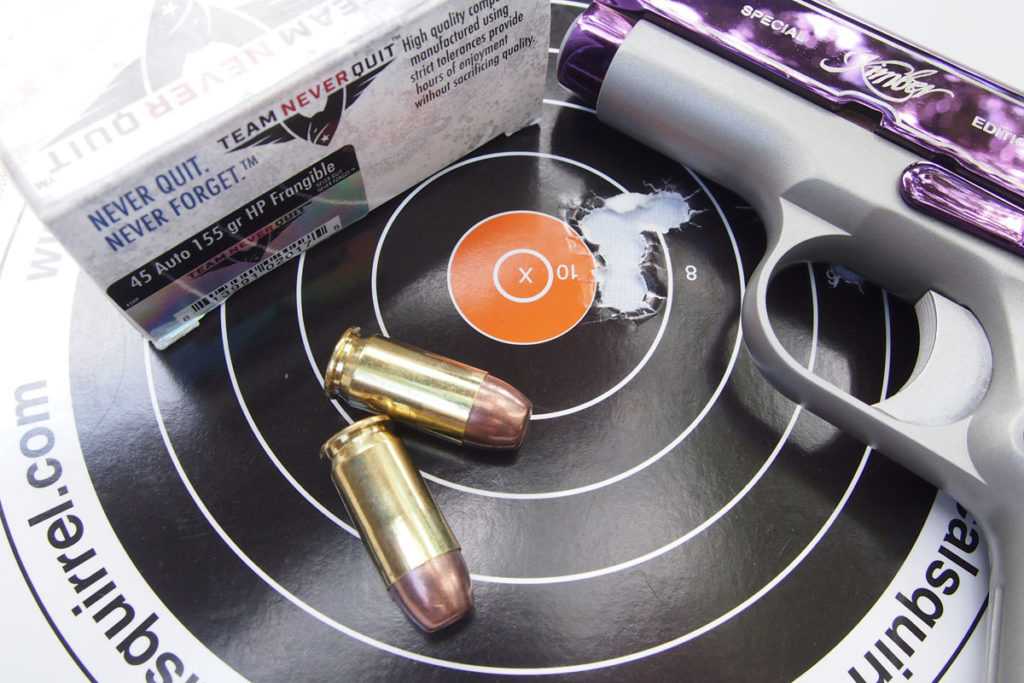
No one seriously testing for accuracy would use shoot an see targets, the bullet holes are inconsistent for measuring and that the bullet holes are easier to see is great for sighting in a rifle but very detrimental to shooting for groups, when shooting for groups it’s best if you can’t see the holes to avoid your eye being drawn to them.
“use the lower jaws – which are designed specifically for outside measurements – to measure the distance from the outer edges of the furthest-apart bullet holes.”
I’d to have seen the points on the outer edges use for measuring. Which edges?
Good thing he wasnt testing magnun rifles
Bob || yep~
5 shot groups may be the standard but it’s too many for a lot of magnum hunting rifles with light weight barrels. Often 3 shots will get the barrel so hot that to shoot more can cause heat damage.